« How to Avoid Dependency Conflicts in Android Multi-Module Apps
How to Avoid Dependency Conflicts in Android Multi-Module Apps
You may have experienced the frustration of managing dependencies in your project. It can be especially challenging when you have multiple modules in your project, as it’s easy to end up with different versions of the same dependency in different modules. This can lead to conflicts and unpredictable behavior.
One way to solve this problem is to create a separate buildSrc module in your project. The buildSrc module is a special module that is used to store your project's build logic, including dependencies. By keeping your dependencies in one place, you can ensure that all modules in your project are using the same version of a dependency.
There are of course different ways of solving this problem, and which approach is best for you will depend on your specific needs and preferences.
I figured that most people these days prefer using Gradle version catalog. I personally find the buildSrc easy to maintain.
To create a buildSrc module, you'll need to do the following:
Open your project.
From the Project pane, change viewing your files from Android to Project Files.
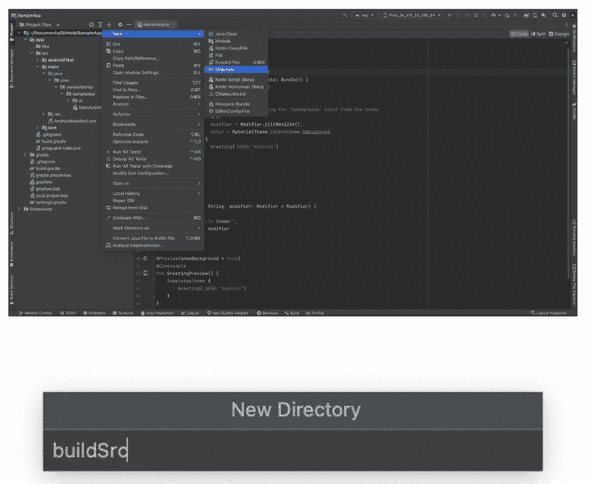
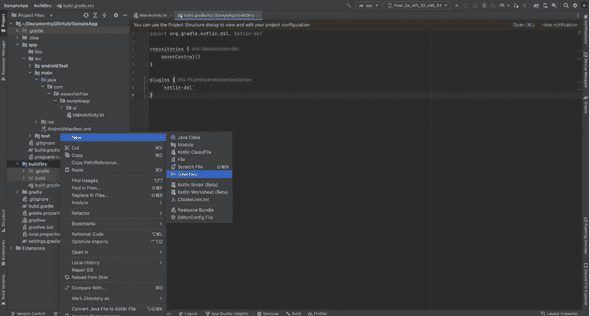
Now, create a new directory from your project root folder, And name it buildSrc.
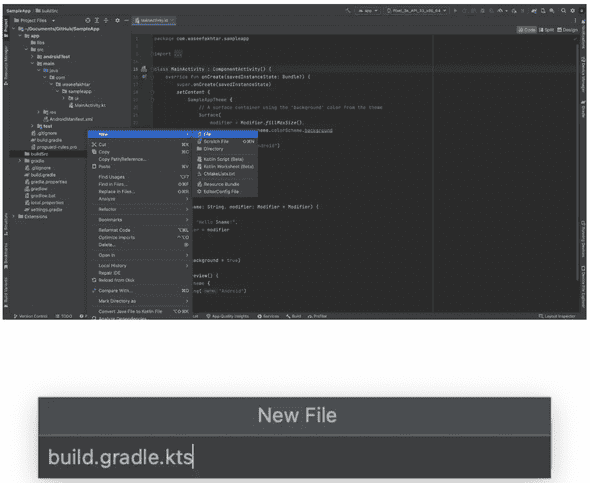
- Now we need to create a new gradle file inside this directory.
This will help turn this from a simple directory to a module. This will also then help compile the dependencies from this module into our other gradle files in different modules.
By turning a directory into a module, you can create a separate unit of code within your project that can be compiled and run independently. This can be useful for organizing your project and for creating reusable code that can be shared across multiple apps or libraries.
- Create a new file and name it build.gradle.kts.
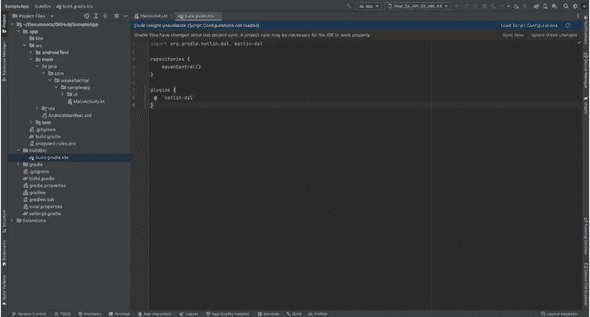
- Paste the following code in your new file:
1import org.gradle.kotlin.dsl.`kotlin-dsl`23repositories {4 mavenCentral()5}67plugins {8 `kotlin-dsl`9}
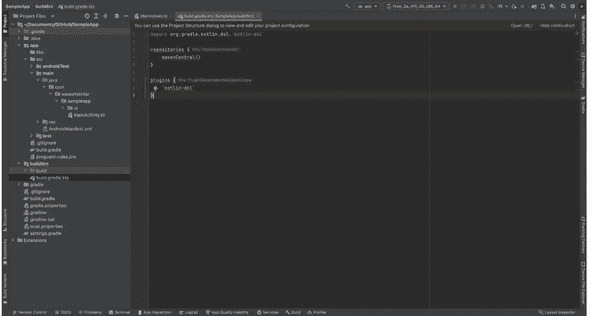
- Sync the project to make the new changes work across the project.
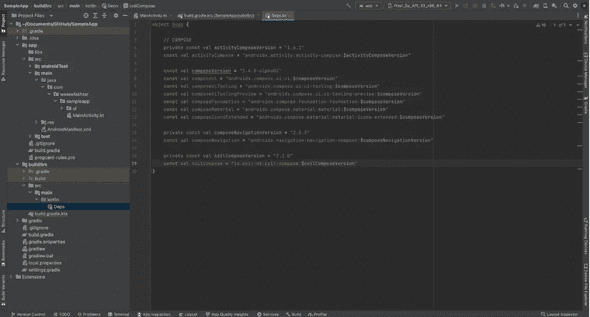
If you notice, this adds a little blue squared icon at the bottom right of your buildSrc folder icon and also a build directory inside it.
This means the sync was successful in turning the directory into a module.
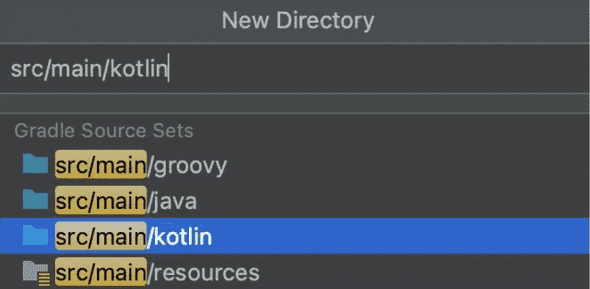
- In your buildSrc, create a new src/main/kotlin directory.
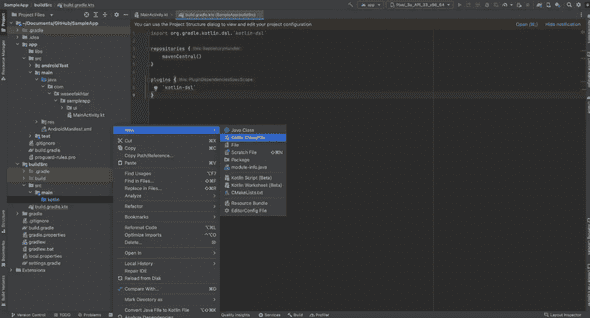
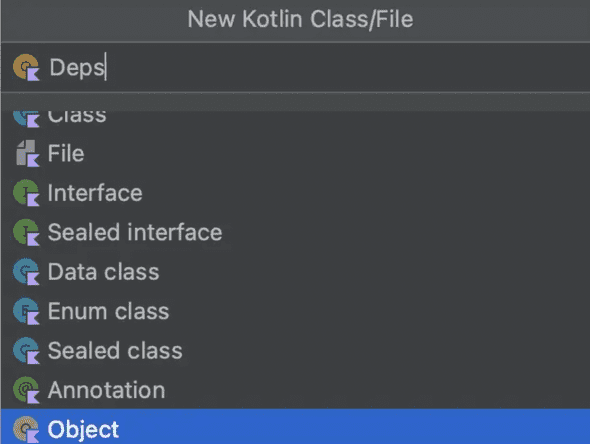
- Inside the src/main/kotlin directory, create a new Kotlin object class named, Deps, or Dependencies.
- Paste the dependencies you’d like for your project.
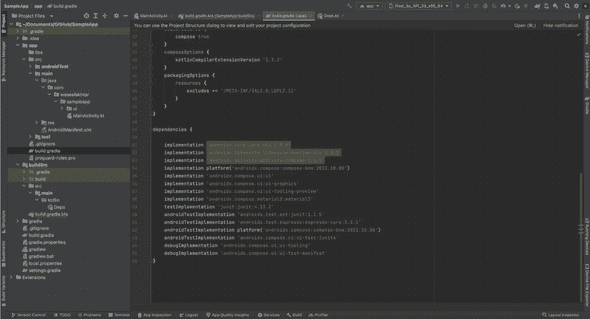
- Now all you need is to go to other modules’ gradle file, and replace your already defined dependencies with the ones we defined in the Deps.kt object class.
For instance:
implementation 'androidx.compose.ui:ui' can be replaced by implementation(Deps.composeUi)
